-
- Printing onto multiple materials 0
- Food date and lot marking solutions for small businesses 0
- Changing the ink cartridge in your REINER 940 0
- Planning to open your own microbrewery? 0
- Why millennials decide to shun plastic in favour of eco-friendly materials 2
- 5 common misconceptions about handheld inkjet printers 0
- REINER introduces the new P1-MP6 ink for dark surfaces 0
- How to barcode your products 4
- Choosing the right ink for your REINER printer 0
Changing the ink cartridge in your REINER 940
People often ask us to refresh their memory on how to change ink cartridges in our hand held inkjets, so today we are starting with the REINER 940.
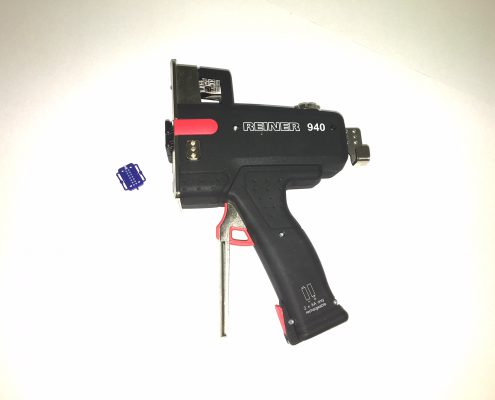
This hand held ink jet is used like a printing ‘gun’ and enables you to print larger format text onto and porous or non-porous surface. The P3-S3 standard cartridge lets you print onto card, paper and other porous surfaces, but by simply changing to a to quick drying P3-MP3 cartridge it becomes suitable for plastic, shiny labels and other non-porous surfaces.


NOBODY NEEDS A SHORT!
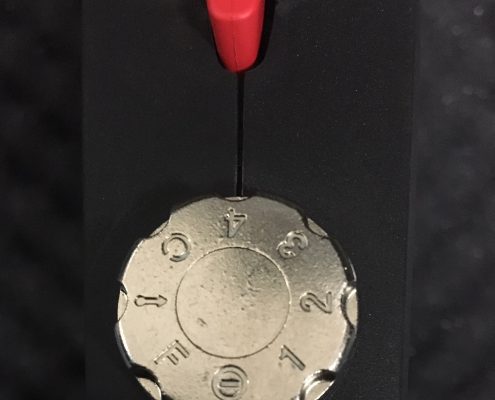
When you are changing your ink cartridge, please remember to turn off your printer first, this is done by switching the silver dial to off (indicated with by the circle with the line running through it) as seen in this image. This enables you to safely open the case without worrying about causing a ‘short’ in connection. Then simply press the red button adjacent to this silver button to release the door to the ink holder case, you can then safely remove the ink cartridge and set it to one side.
For best practice we would recommend placing the unused ink cartridge into an airtight bag to keep the ink from drying out while not in use.
CHANGE YOUR HEAD
While you are changing your ink cartridge, you must also make sure you change the printer head – this is the blue ‘memory card sized’ print head which you should have inside the bag containing the new ink cartridge.
Here is a great video showing how this step is done by the official REINER manufacturer in Germany


INSERT - READY, STEADY, PRINT!
Now we are ready to insert the new cartridge. Start by unpacking the new Ink cartridge, making sure you keep all of the packaging safe, you may need this to keep your old cartridge stored away – especially if you are switching between standard MP ink and our quick drying MP3 ink. In the same way that you removed the previous cartridge, press the red button next to the silver dial to release the cartridge holder.
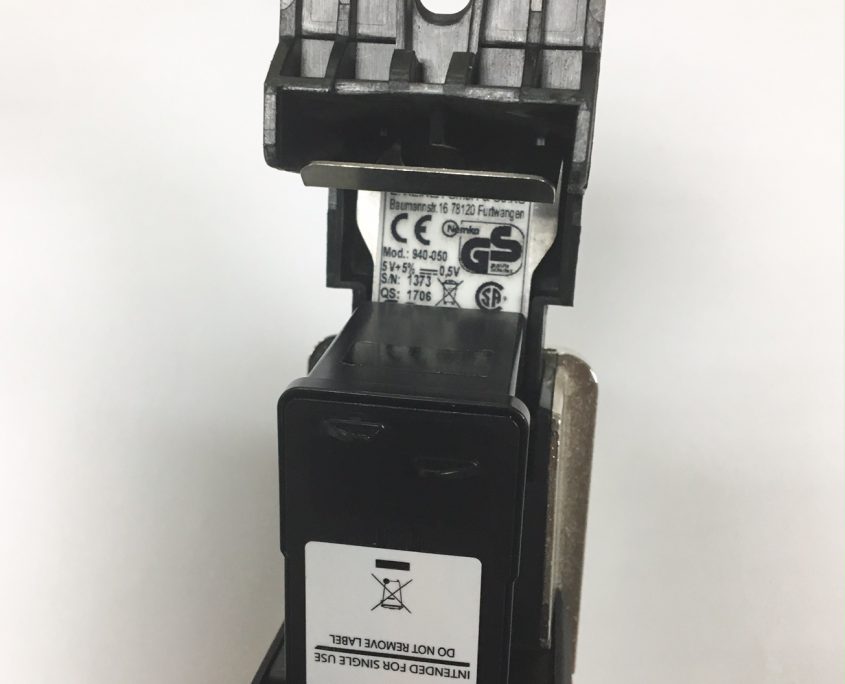
Turn the cartridge so the label is upside down and facing towards the red button, as shown in the image. Slide the cartridge into place and close the cartridge holder, making sure it ‘clicks’ into position. You are now ready to print again.
If you are having trouble closing the case, do no force it, just check that the cartridge has dropped correctly into position.
